JUST. KIDDING.
Okay, so I took off Ghostbusters. Perhaps a hasty move. FINAL PROJECTS TO BE PRINTED ARE (drumroll please):


Okay, so I took off Ghostbusters. Perhaps a hasty move. FINAL PROJECTS TO BE PRINTED ARE (drumroll please):


Well the semester is drawing to a close and I have finally finished my lovely ghost project. In the end, I thought it would be fun to make this a project about contrast. I have really nice images that I am turning into advertisements for… get ready… Ghostbusters. Though I feel like my images are classy enough to be used to mockingly advertise “barely there” make-up, or skin whitener for the Asian market, I thought it would be fun to play with the idea of taking something classy, like my lady ghosts, and contrast it with something juvenile (yet fun!) like Ghostbusters. In the end, I ended up rebranding Ghostbusters to appeal to more upperclass members of the ghost-hunting market, who were not previously sought after by Ghostbusters Inc.
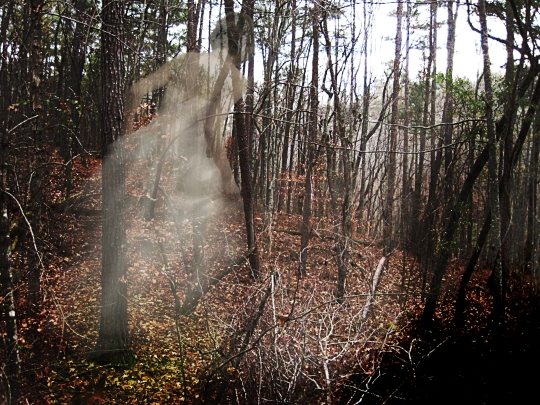
That being said, here are the final four pictures of my lovely ghost.
So in working with my ghosts, I’ve decided to do a profile of a single ghost. The first ghost is here. Here is the second of my dear ghost.
As much as I love the idea of drawing my final image, I’ve really come to enjoy seeing what kind of image effects I can do with the computer. I’ve enjoyed making my latest spectre, and I’m pretty sure I could turn it into a series. We’ll have to see what Nell and the class says tomorrow!
So how did I get from these images to there?


The first thing that I did was open the background scene in photoshop. I duplicated the original layer and set it to color burn, 30%, and outlined my details with high pass at a low opacity. I then added my woman after cutting her out of her original picture. I layered her with blur masks and overlays, and adjusted her to the ghostliness of my content, frequently using the burn and soft brush eraser tool to erase extra hard lines. I then reduced her opacity group to 80%, duplicated the background layer again, stacked that layer on the top, and set its overlay to 26%. After lots of tweaking and an hour of flustering with photoshop, my image was complete!